![New Founders Software-White.png]](https://help.intelligentbits.com/hs-fs/hubfs/New%20Founders%20Software-White.png?height=50&name=New%20Founders%20Software-White.png)
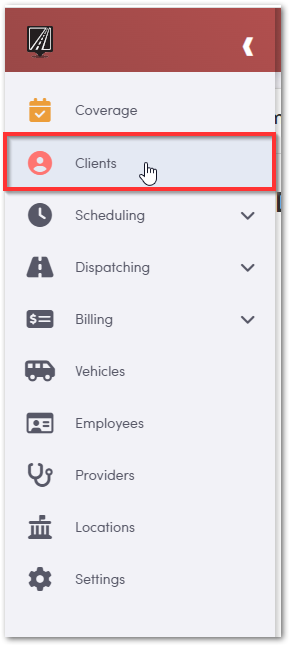
To begin, hover over the left side menu and select Clients:
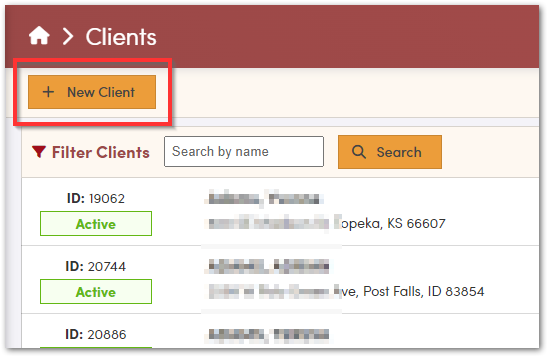
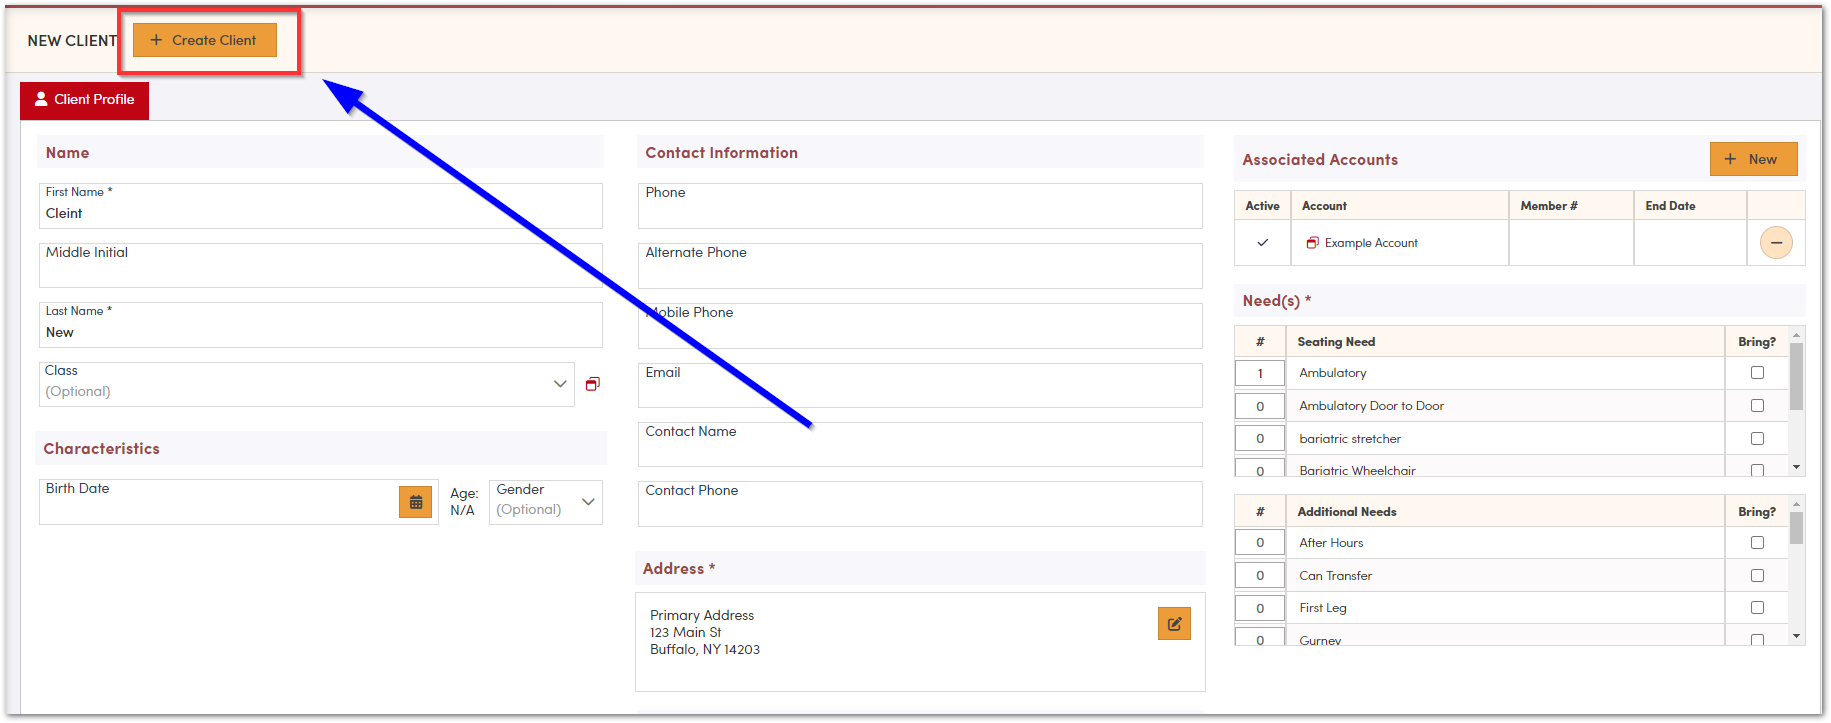
If you are creating a trip for a client you have never transported before, click New Client.
Fields marked with an asterisk are required in order to save that client record (first name, last name, address, associated accounts and needs)

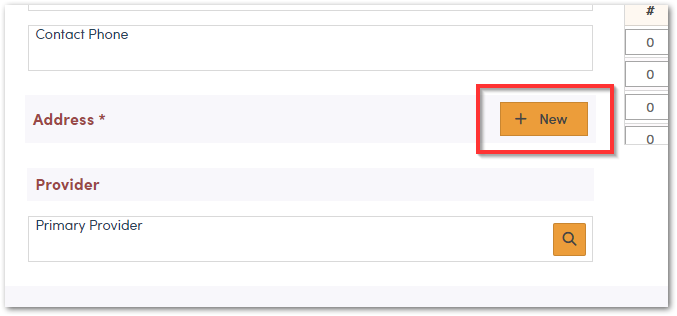
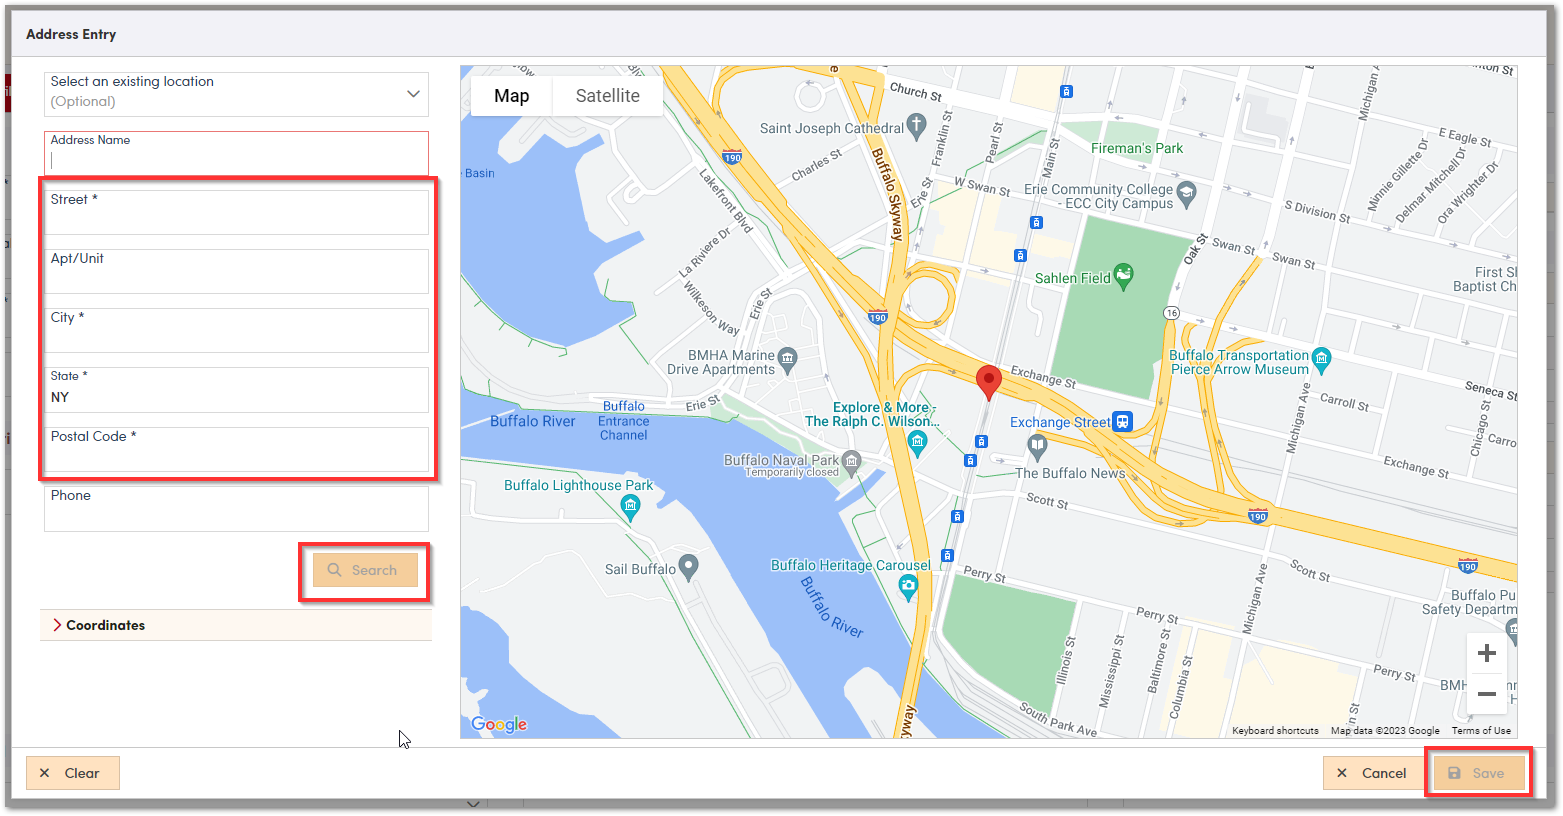
To locate the client address, click New. Once address information is inputted, verify the location on the map, and click save.
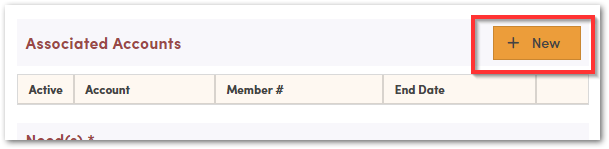
To add the clients Account to this record, click New, on the right side of the screen.
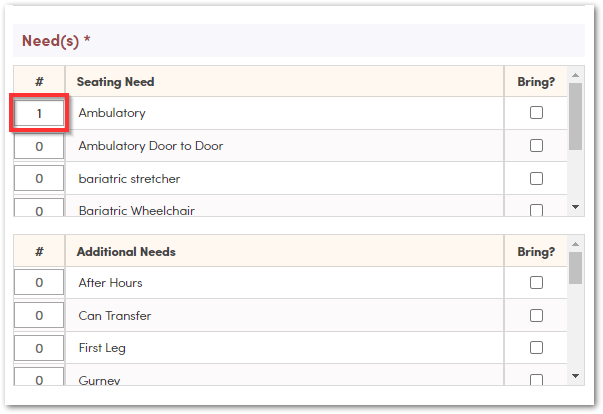
Next, assign the client’s seating need by adding a 1 next to the space they’ll occupy in your vehicle. In the Need(s) section put a 1 in place of the 0 to indicate their seating need or any additional needs.
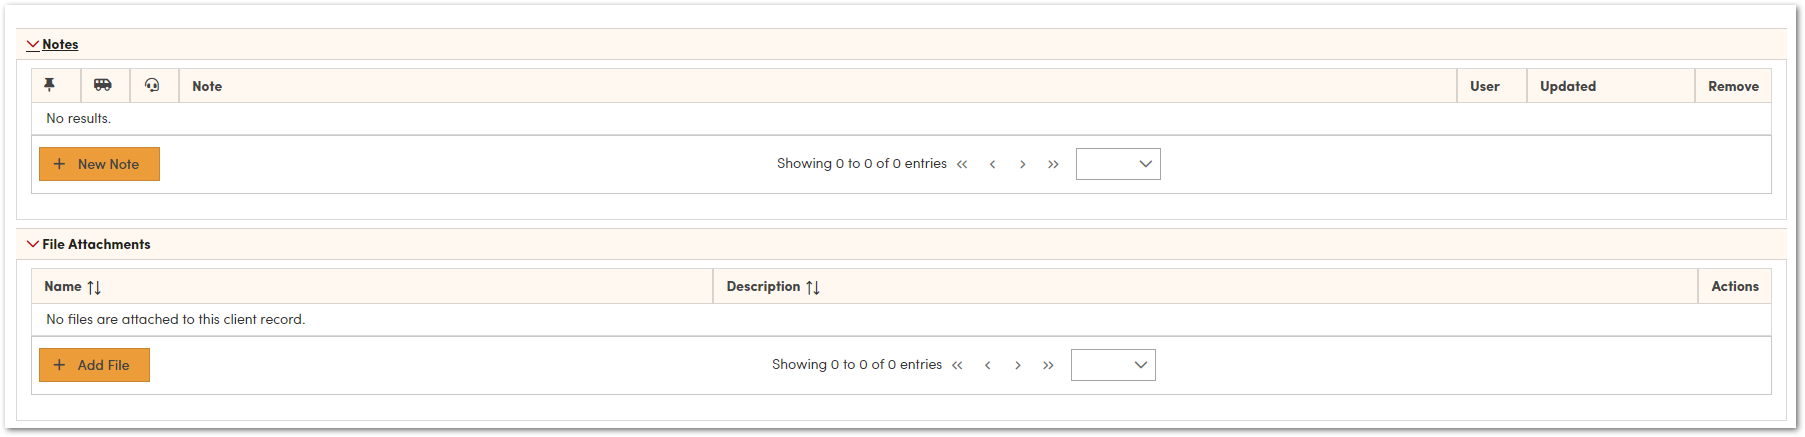
If you need to add additional notes or file attachments you can do so at the bottom of the page.
Clients can also be saved into different Client Classes. Clicking the red icon to the right of the drop down, allows you to create different classes for reporting. Please work with your Customer Success Team to learn how to assign rates to different client classes if needed.

Once all required fields are filled out and any additional information is filled out. Save the client record by clicking +New Client.
Once the client record is created, it is time to schedule that clients trip!
Please use the following tutorial to assist with adding clients and scheduling trips!