![New Founders Software-White.png]](https://help.intelligentbits.com/hs-fs/hubfs/New%20Founders%20Software-White.png?height=50&name=New%20Founders%20Software-White.png)
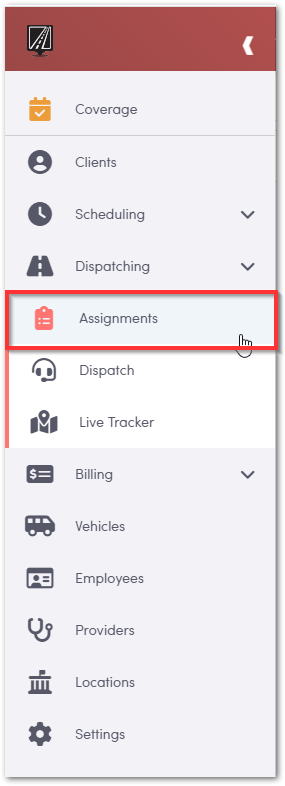
Hover your mouse over the left-hand side of the screen to extend the pull-out menu and click dispatching then click assignments.
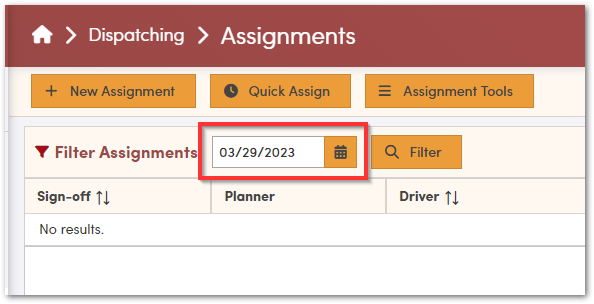
The Assignments section will default to today's date. If you are setting up your assignments for a day in the future, be sure to select that date.
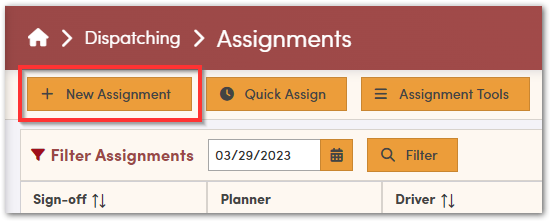
Once on the correct date, click “New Assignment”.
From the Add Assignment begin by selecting the driver.
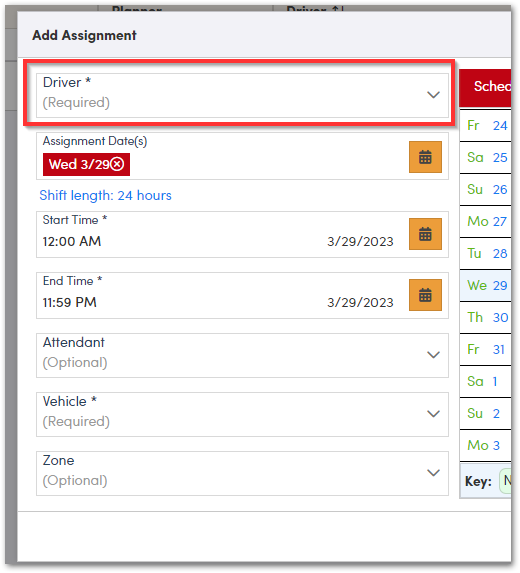
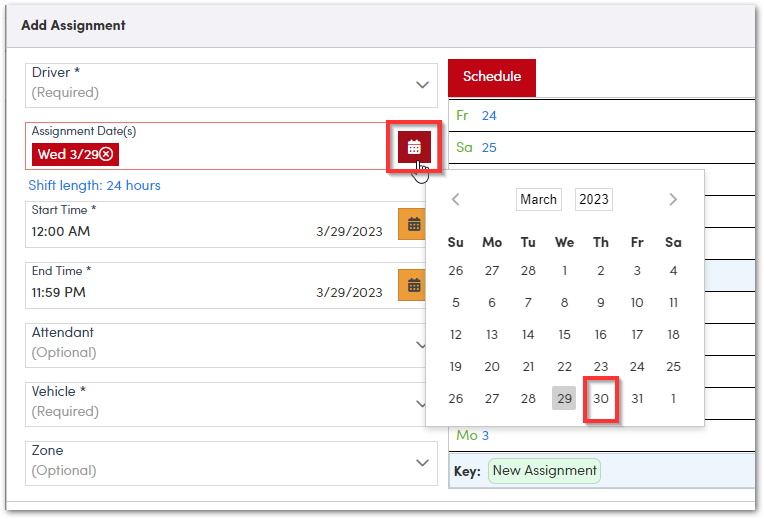
Next up is the Assignment Date(s), the date selected on the previous screen will be added automatically. You can also select additional dates. For example, if your driver will be working Monday through Friday this week, you can click the calendar icon and select additional days.
Next up is your Shift Length, this will default to 12:00AM to 11:59PM. You can leave it at 24 hours unless, the driver will be sharing the same vehicle with another driver. You must then add the time they are done in the vehicle.

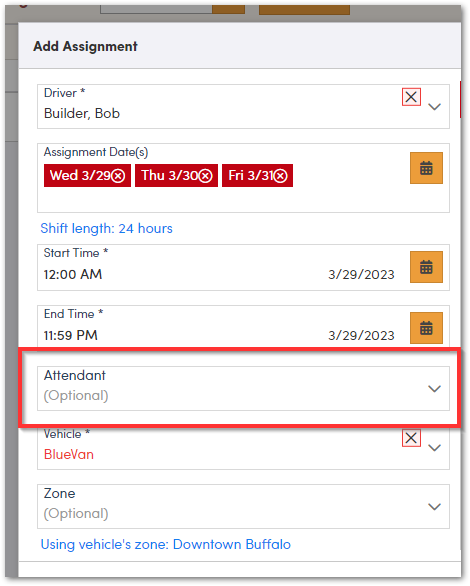
Next item to select would be the Attendant. This is if you have a driver riding along with another driver for the day (optional field).
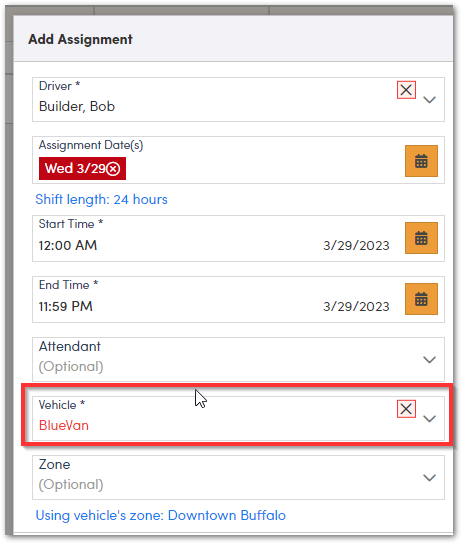
Last step is to select the vehicle the driver is in for this assignment. Please note, if they have a typical vehicle on their driver profile, this will auto populate.
Once finished, click “Add”. Repeat this process for all your drivers.