![New Founders Software-White.png]](https://help.intelligentbits.com/hs-fs/hubfs/New%20Founders%20Software-White.png?height=50&name=New%20Founders%20Software-White.png)
To add columns, find this icon in the top right corner of the screen.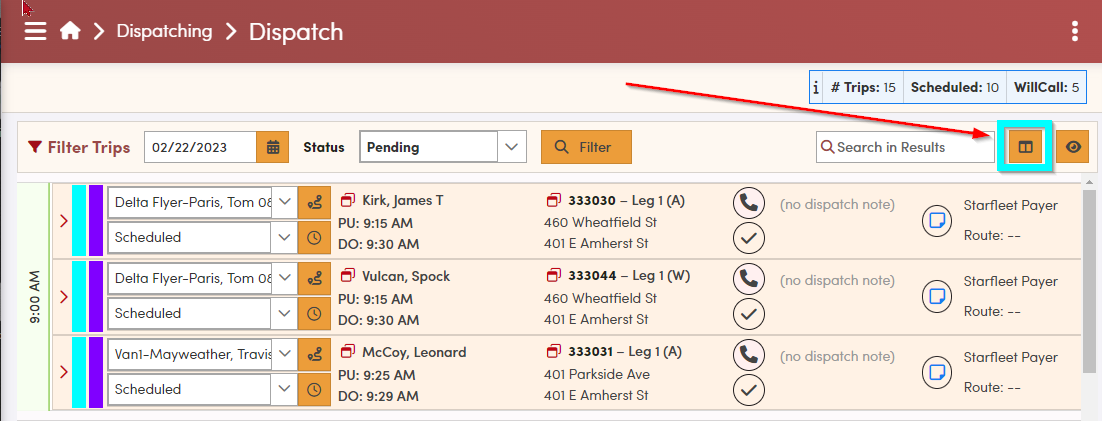
This icon is available under Scheduling → View Trips as well as on the Dispatch screen (pictured above).
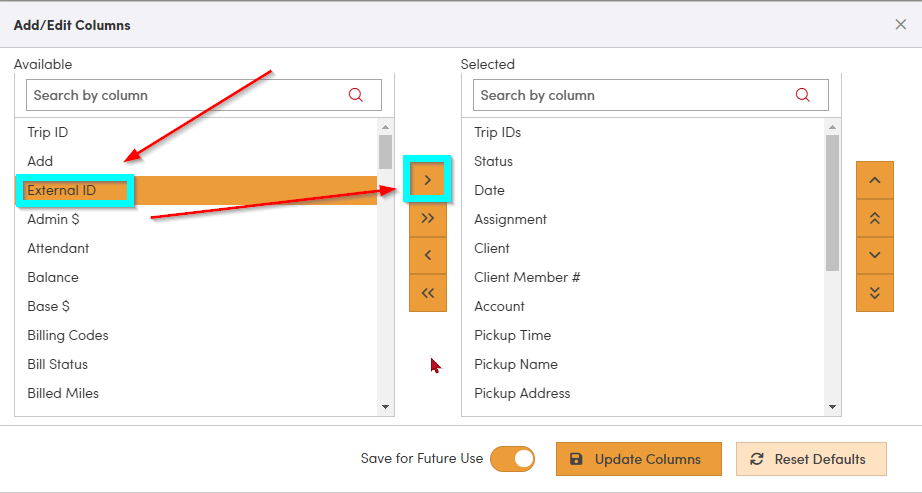
After clicking the icon, you'll get a pop-up that shows Available Columns on the left and all of your currently Selected Columns on the right.
To add Columns into your view, bring them from the Available Columns into the Selected Columns. Highlight the column on the left that you'd like to add, and move it from the left to the right using the arrows shown below.
Here, External ID will be added to the Selected columns.
(This is the ID given to the trip by the trip broker.)
Use the up and down arrows on the far right to arrange the columns in the order you'd prefer, shown below.
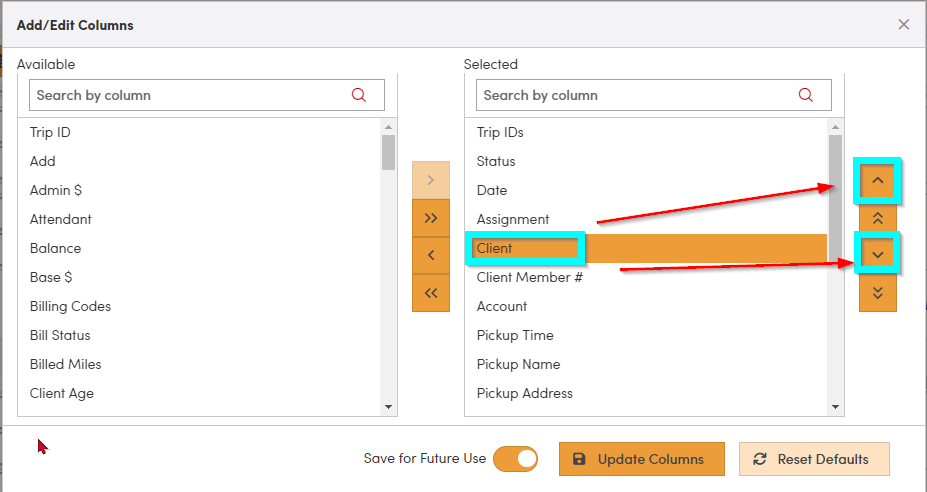
Click Update Columns to close the window and update the grid you're viewing.