![New Founders Software-White.png]](https://help.intelligentbits.com/hs-fs/hubfs/New%20Founders%20Software-White.png?height=50&name=New%20Founders%20Software-White.png)
Navigate to the Settings tab, then select the Purposes icon.
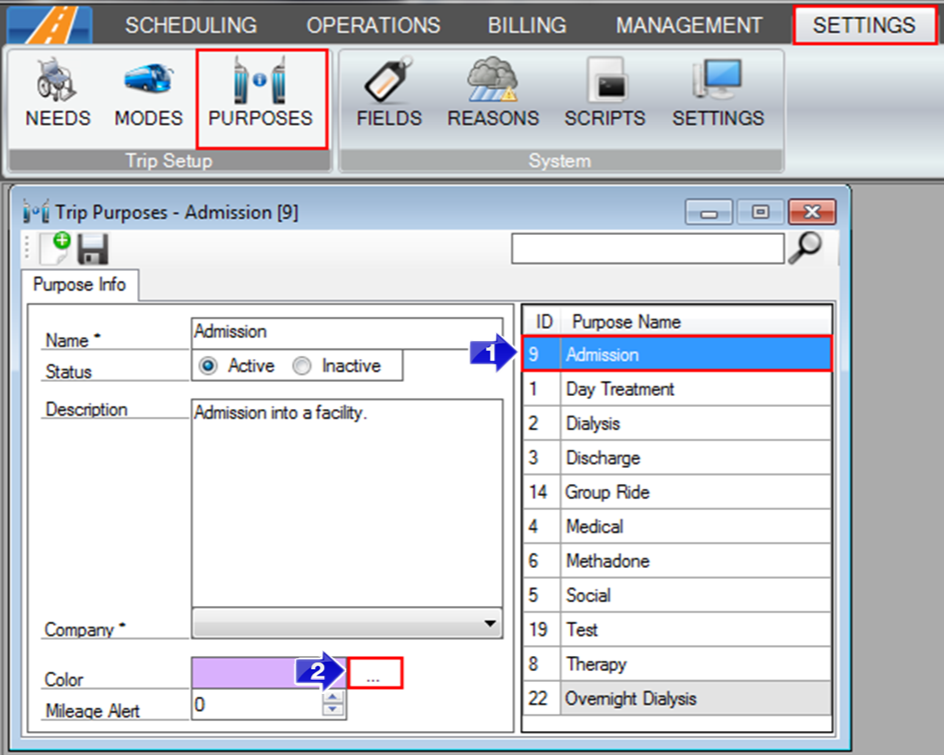
1. Select the Purpose you would like to color code.
2. Next to the Color field, click on the three dots.
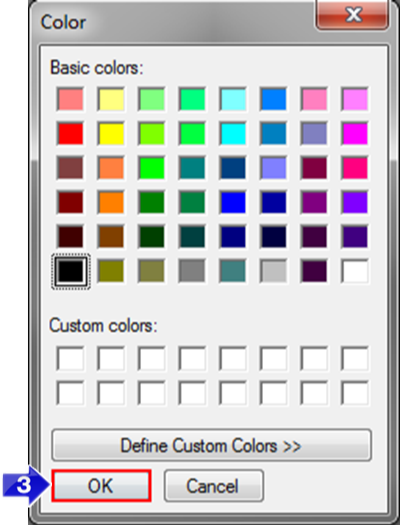
3. The Color window will open, select the color for that purpose and select OK.
4. Select the Save icon on the Purposes window.
Once the purpose has been color coded, it can be viewed in the Dispatch window.
Navigate to the Operations tab, then select the Dispatch icon:
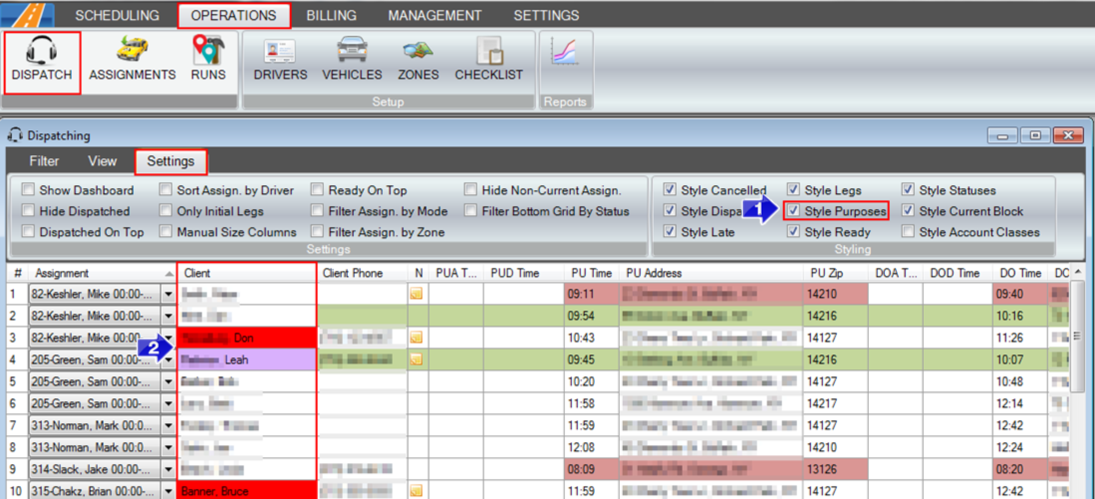
1. Ensure that the Style Purposes box is checked on the Settings tab if you would like the purpose color coding to be viewable.
2. Under the Client field, the client’s name will be color coded to indicate what the purpose of that trip is.
Related Articles:
How to Create a Custom View
How to Create a Mode
How to Create a Purpose
How to Add Color Coding to Account Classes
How to Add Color Coding to Modes
Key Terms:
Client, Color, Color Code, Dispatch, Modes, Mode of Transportation, Operations, Purposes, Save, Settings, Style Purposes, Viewer, DispatchFormHelp, TripPurposesFormHelp