![New Founders Software-White.png]](https://help.intelligentbits.com/hs-fs/hubfs/New%20Founders%20Software-White.png?height=50&name=New%20Founders%20Software-White.png)
Navigate to the Scheduling tab, then select the Clients icon.
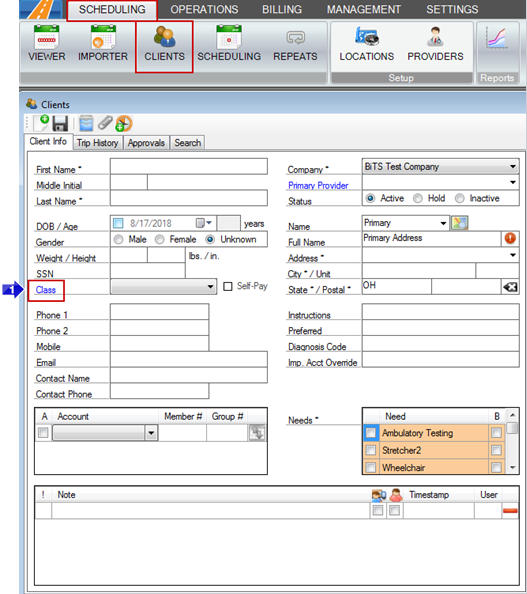
1. Click Class.
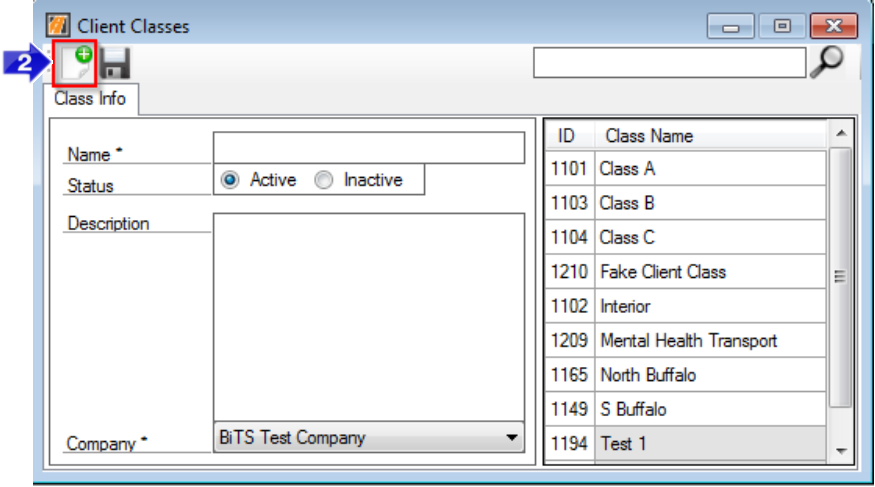
2. Click the create new icon to add a Client Class to RoutingBox.
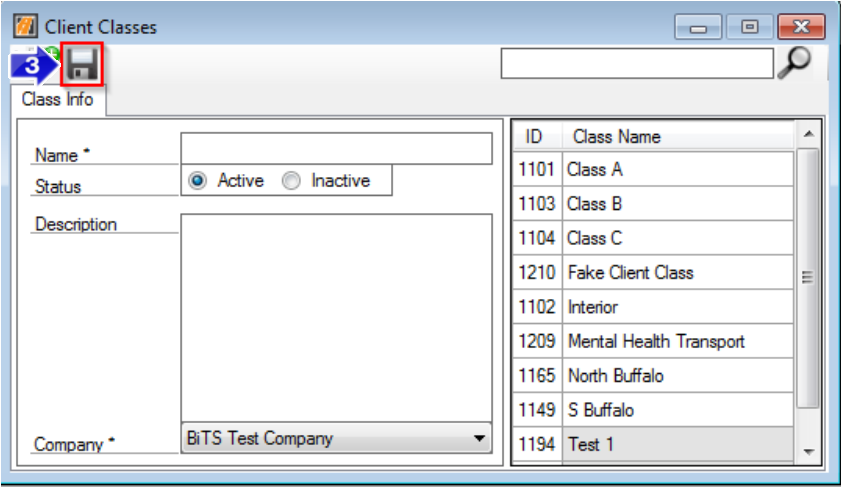
3. Click the floppy disc icon to save your changes.
Related Articles:
How to Create a Custom Export
How to Create a Custom View
How to Create an Account Class
Trip Services - Client Class
Key Terms:
Class, Client, Dispatch, Filter, Scheduling, Services, Viewer, ClientsFormHelp