![New Founders Software-White.png]](https://help.intelligentbits.com/hs-fs/hubfs/New%20Founders%20Software-White.png?height=50&name=New%20Founders%20Software-White.png)
Go to the Dispatch screen through the left hand pull-out menu.
(Or, you might have saved Dispatch as a favorite at the top of your homescreen)
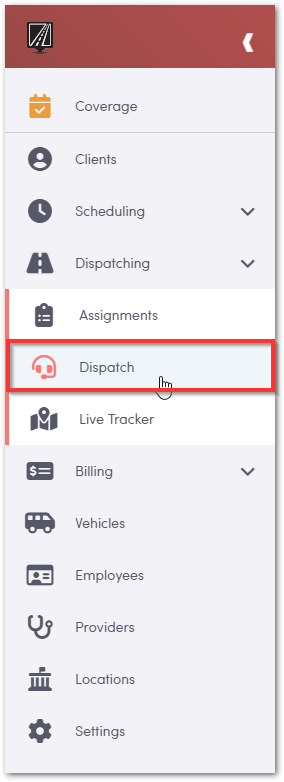
On the Dispatch screen, you'll have a color-coded view of your assignments for the day, and a few options to customize your view.
Note – the Dispatch screen will only show a single day of trips. If you want to see an expanded time window refer to “view trips” from the Scheduling section of the previous chapter.
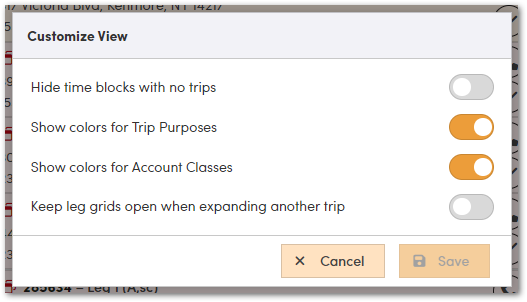
Say you want to hide time blocks that don’t contain trips? Click “eye” icon at the top right of the screen (shown below) for customization options.

You can filter by trip status here. A good view to use is to filter by all trips that are “Not Cancelled” to give you up to the minute updated active trips for that day.
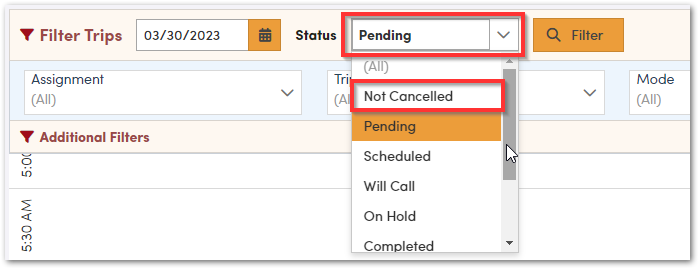
Click filter trips to filter by driver, purpose or mode of transport.

Your trips will be listed in time order, organized in the different time blocks. To select a driver to take that trip, click the Select Assignment drop down. This will show you a list of drivers that have been assigned to the day. Simply select the driver you'd like. Once you do that, the trip information is sent to the driver mobile device to be completed.

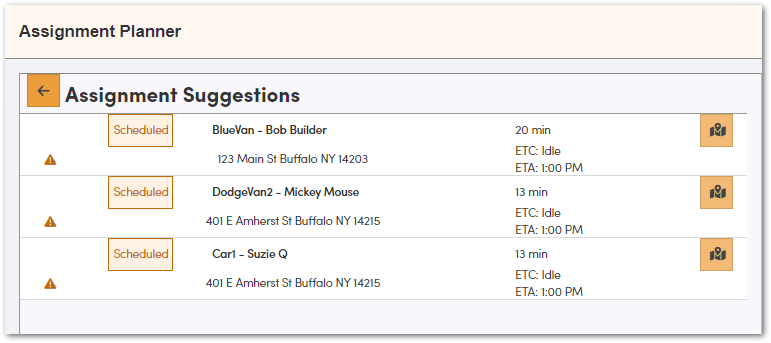
If there is no driver assigned and you need to choose the best driver available? Click the “Assignment Planner” icon, then “Assignment Suggestions” 
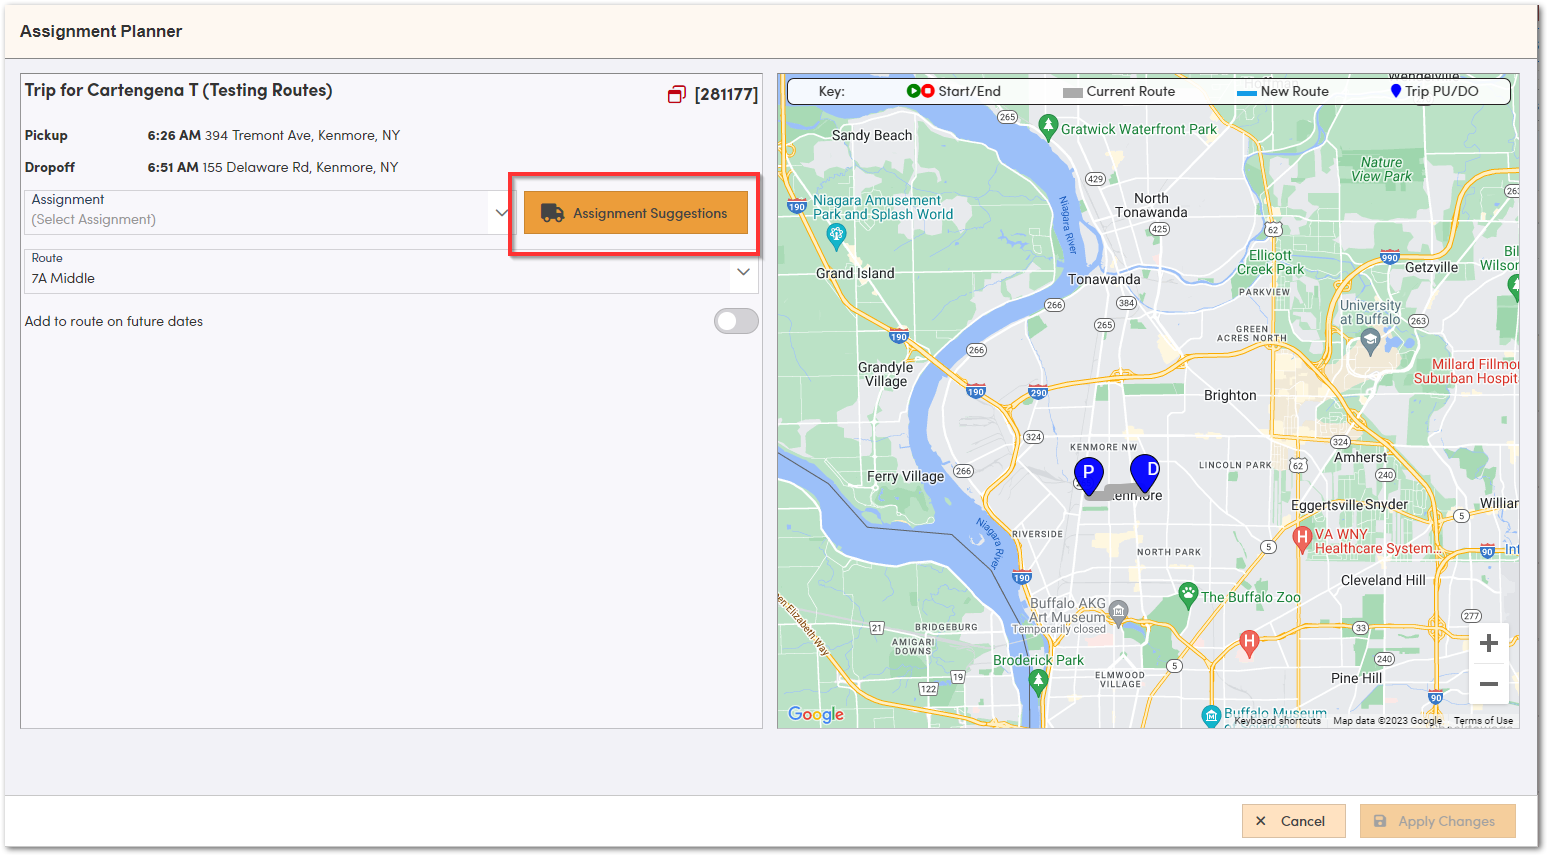
The driver that appears on top is RoutingBox’s best suggestion. Once you choose the driver, you can add or remove additional trips, or review all their stops for the day. Click Apply Changes to save your updates to that driver’s trips.
For a video tutorial on Assignments and Dispatching please view the following tutorial