![New Founders Software-White.png]](https://help.intelligentbits.com/hs-fs/hubfs/New%20Founders%20Software-White.png?height=50&name=New%20Founders%20Software-White.png)
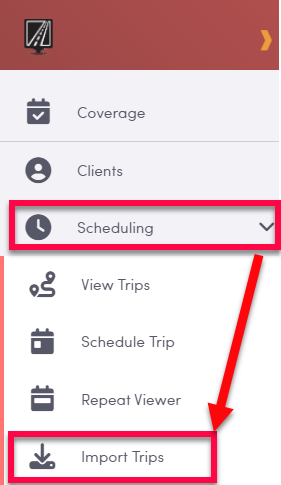
To begin, hover over the left side menu and expand Scheduling and select Import Trips
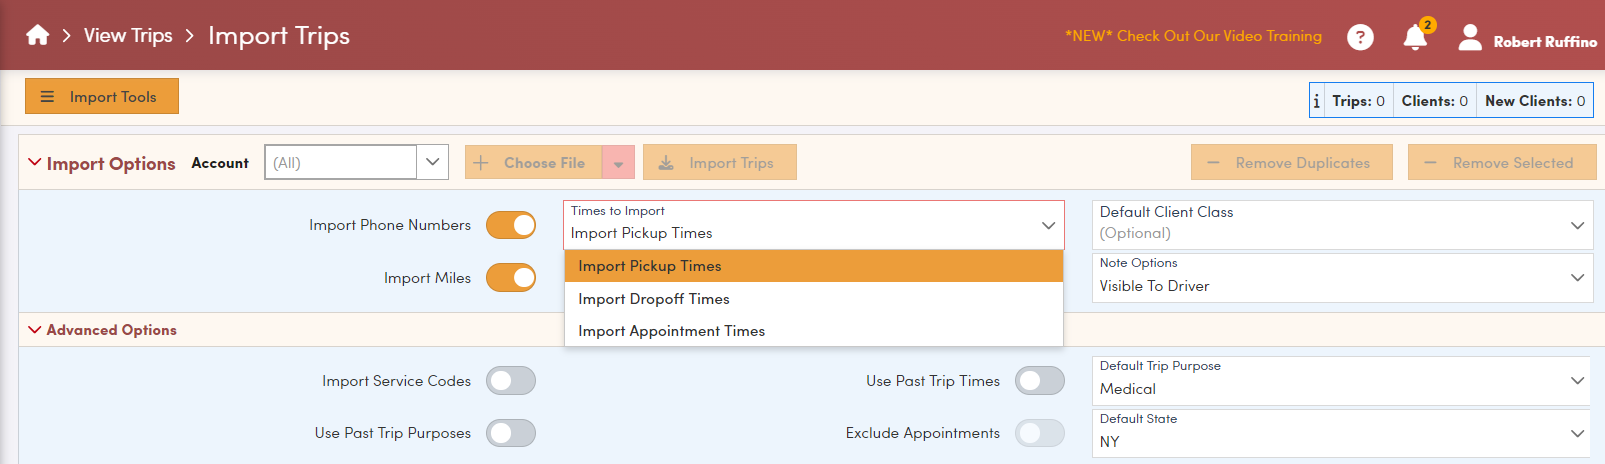
Before importing, you can expand the options sections to make decisions about what data gets imported with the file
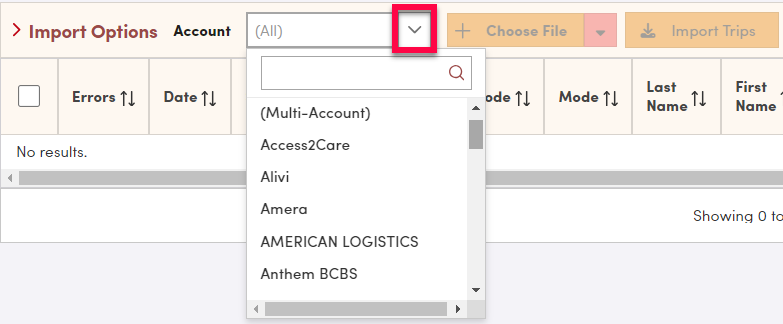
Next, select the account you are importing to using the Account dropdown. If the file contains trips that are to be split up amongst multiple accounts, you can choose the "(Multi-Account)" option.
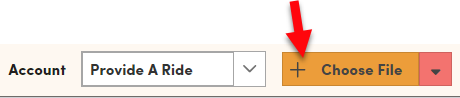
Then click "Choose File"
This will open your Finder (in either Windows or Mac), locate the file and select Import.
Your trips should now display in the grid below. RoutingBox will precheck the trip information to see if the trip has any invalid or missing information. If there are any errors, they will be displayed in the Errors column, otherwise you will see a green check if no issues are found.

If the client name is green that means it is a new client for RoutingBox and a Client Profile will be created when the trip is imported.
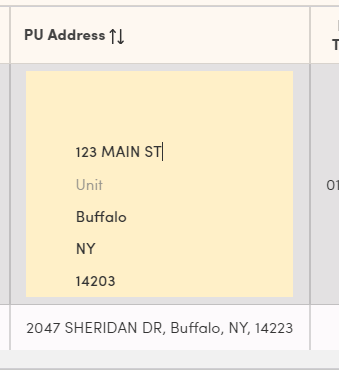
If there are any errors, or if you see something you want to change, each cell in this grid is editable if you click in it. For example, if you click in the PU address cell it expands for editing.
After fixing any errors that needed fixing, you can check the box next to the trip to select it and then click Import Trips
It's advisable that before you Import trips you first click "Remove Duplicates". This will check for trips that have already been imported into RoutingBox on previous imports and then it will remove those trips from the grid.
This helps to clean up the data you need to review. However, it's okay if you do not remove duplicates first as RoutingBox will not create a duplicate trip if you attempt to import one, you'll just see errors in the import screen after attempting the import.
At this stage you may receive an error pop-up if any issues were found with importing the trips (read the details of the error to determine next steps) or you'll get a confirmation that the trips imported!
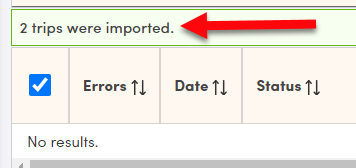
And that's it! Your trips should now be imported.