![New Founders Software-White.png]](https://help.intelligentbits.com/hs-fs/hubfs/New%20Founders%20Software-White.png?height=50&name=New%20Founders%20Software-White.png)
Navigate to the Billing tab, then select the Accounts icon.
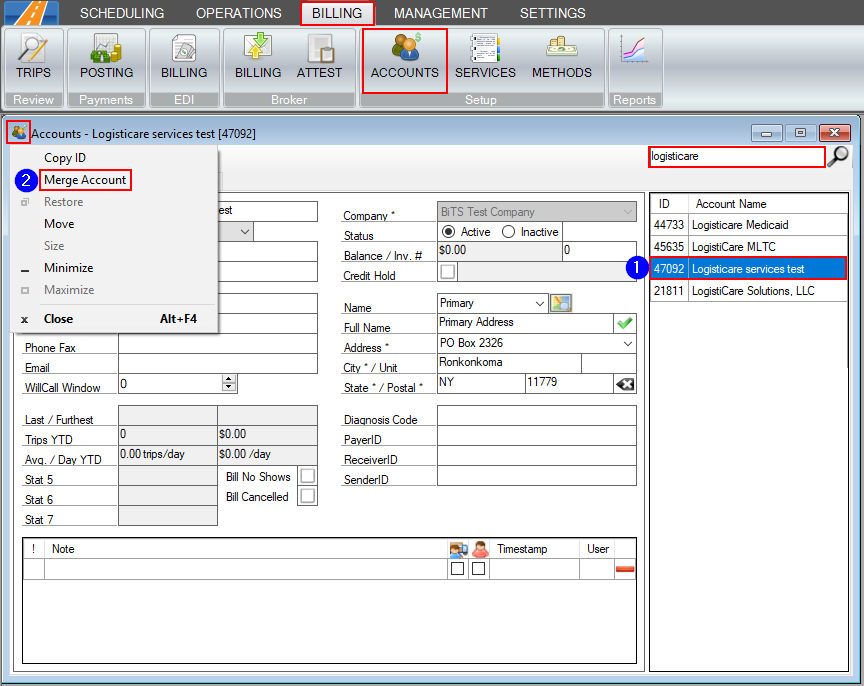
1. Search for the Account you would like to Merge with the duplicate account (the account that will remain active). You can search by the account name or the account id.
2. Click the  icon in the top-left corner of the Accounts screen and select Merge Account.
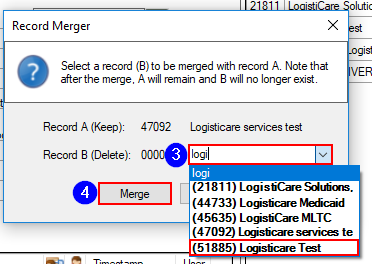
3. Begin typing the Account name that you’d like to be Merged until it shows in the drop-down list (the account that will be deleted). The name and account ID will be visible in the list. Select the account you would like to merge.
4. Click the Merge button to Merge the Accounts.
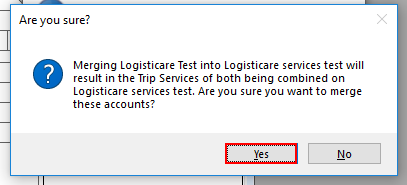
A confirmation window will pop up after clicking the Merge button, warning you of any possible errors that may occur due to the Merge. To continue the merging process, click the Yes button.
All of Record B’s information will be transferred over to Record A, and Record B will be deleted. This will include services for each account. These will be merged together, which may cause duplicates or incorrect data. Make any necessary changes to the Services screen after the accounts have been successfully merged.
Related Articles:
How to Merge Clients
How to Make an Account Inactive
How to Create an Account
Key Terms:
Accounts, Account ID, Merge, Client, Drop-Down, Active, Inactive, AccountsFormHelp