![New Founders Software-White.png]](https://help.intelligentbits.com/hs-fs/hubfs/New%20Founders%20Software-White.png?height=50&name=New%20Founders%20Software-White.png)
Navigate to the Operations tab, then select the Dispatch icon.
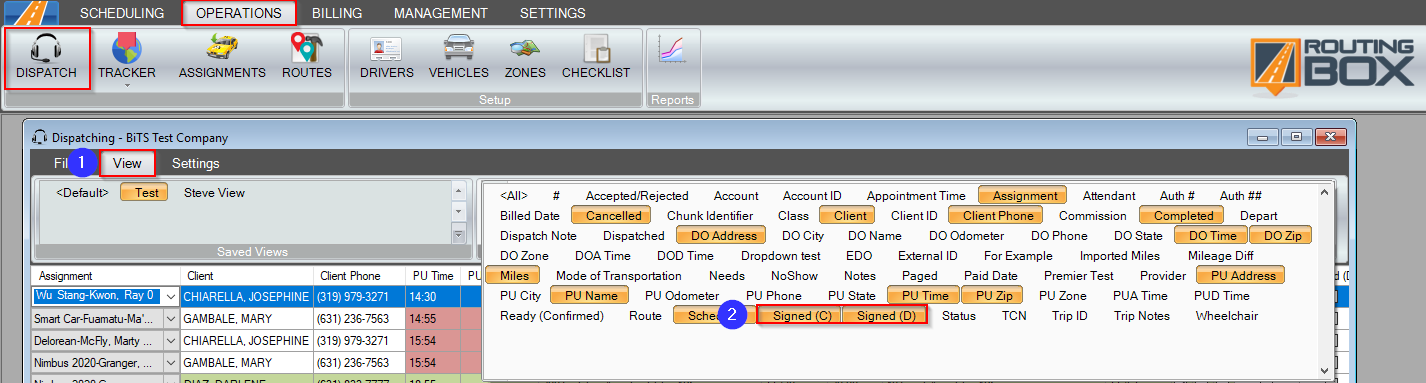
1. Select the View tab.
2. Add the Signed (C) and Signed (D) columns to your view by clicking in the Column Visibility box.

3. The Signed (C) and Signed (D) columns will display. If there is a check mark in the field, the client or driver signature has been captured for that trip.
4. Double click a check mark to view the signature for that individual.
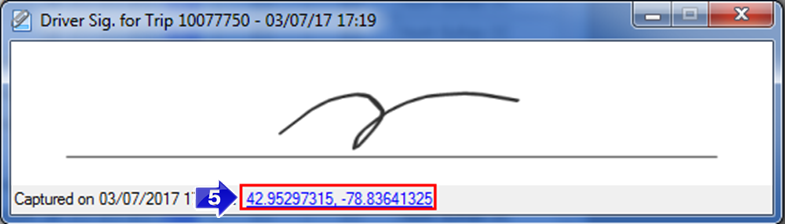
5. Clicking on the blue latitude and longitude coordinates will display a map of the driver’s location where the signature was captured.
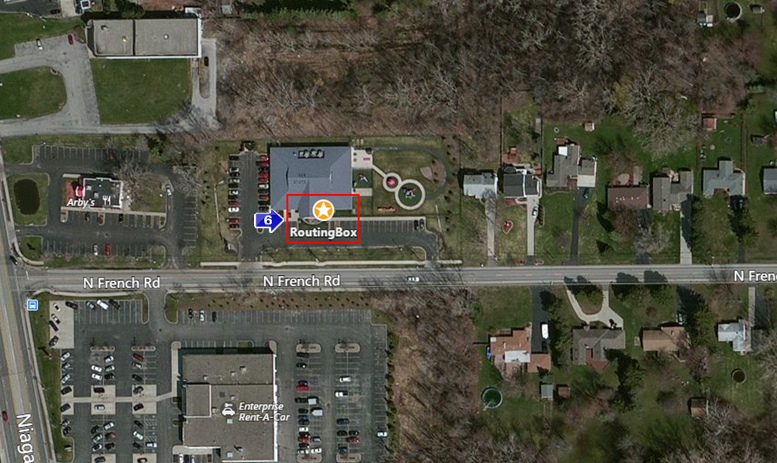
6. The map will be displayed in your browser. A star will identify the location of the driver.
Related Articles:
How to Change a Trip's Signature Status
How to Create a Custom View
How to Swap Client & Driver Signatures
Key Terms:
Client, Dispatch, Driver, RoutingBox Mobile, Signature, DispatchFormHelp