![New Founders Software-White.png]](https://help.intelligentbits.com/hs-fs/hubfs/New%20Founders%20Software-White.png?height=50&name=New%20Founders%20Software-White.png)
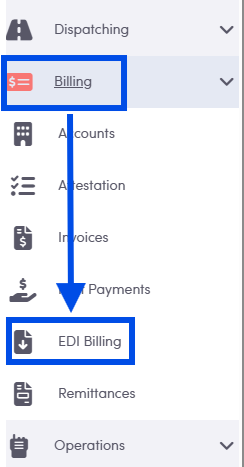
Navigate to the Billing tab, then select the EDI Billing category.
Select the Date Range for the trips we would like to bill.
Enter the name of the Account to bill (MTM), skip the Account Class (not needed) and leave the Billing Status on Ready.
Click Filter.

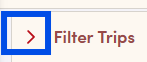
NOTE: if you do not see the Account, Class, and Billing Status filters below the date range, use the
> arrow to the left of the date to bring down the next layer of filter options.
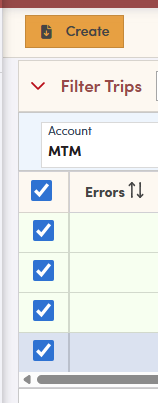
Check the trips you would like included on the billing file.
The checkbox in the column header will check all trips in the grid.
Please note, any trip with information highlighted in pink requires attention prior to creating a broker billing file.
Click Create in the top left.
Choose the desired file format from the drop-down = MTM LINK.
Select to Mark Trips Billed or Batch in Invoice. Marking the trips Billed will change the billing status. If Batch in Invoice is checked, an invoice line will be created, visible on the corresponding Account screen.
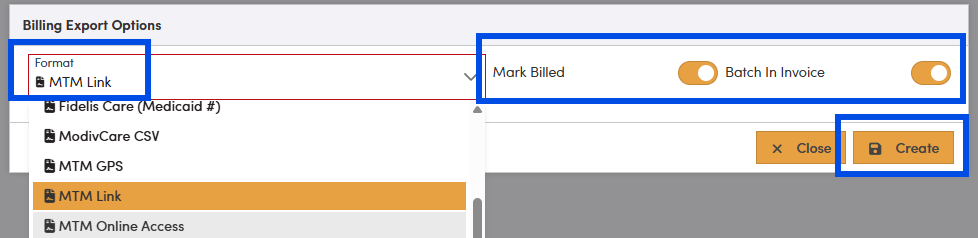
Choose the desired file format from the drop-down. You will be prompted to enter a name for the file and save it on your computer. This file may be uploaded to the broker portal.
NOTE: the format that RoutingBox will generate is .CSV; the MTM Portal requires a .xslx format, so after saving to your computer, open the document and convert/save in the .xslx format.
Load on the MTM portal under the Claims tab.
Broker Portals are subject to change - if the file is not accepted on the MTM portal, or the data isn't fully satisfying all required fields in the MTM portal, you must reach out to MTM for support and assistance.