![New Founders Software-White.png]](https://help.intelligentbits.com/hs-fs/hubfs/New%20Founders%20Software-White.png?height=50&name=New%20Founders%20Software-White.png)
Before you can set a trip to Repeat, you need to have a trip scheduled.
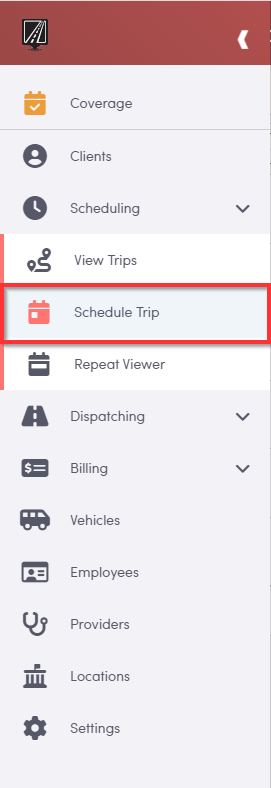
To begin scheduling a new trip, hover your mouse over the left-hand pull-out menu and click “scheduling”, then “Schedule Trip”.
If you know the clients name (and the clients profile has previously been added to RoutingBox), type that into the field and click search.
Note: If you don’t know the name of the client leave the field blank and click the search button to be taken to the full client list.


Click on the clients name to begin scheduling the first leg of this trip. Fill out the required fields marked by an asterisk including Account, Mode of Transport, Trip Purpose and Seating Needs.
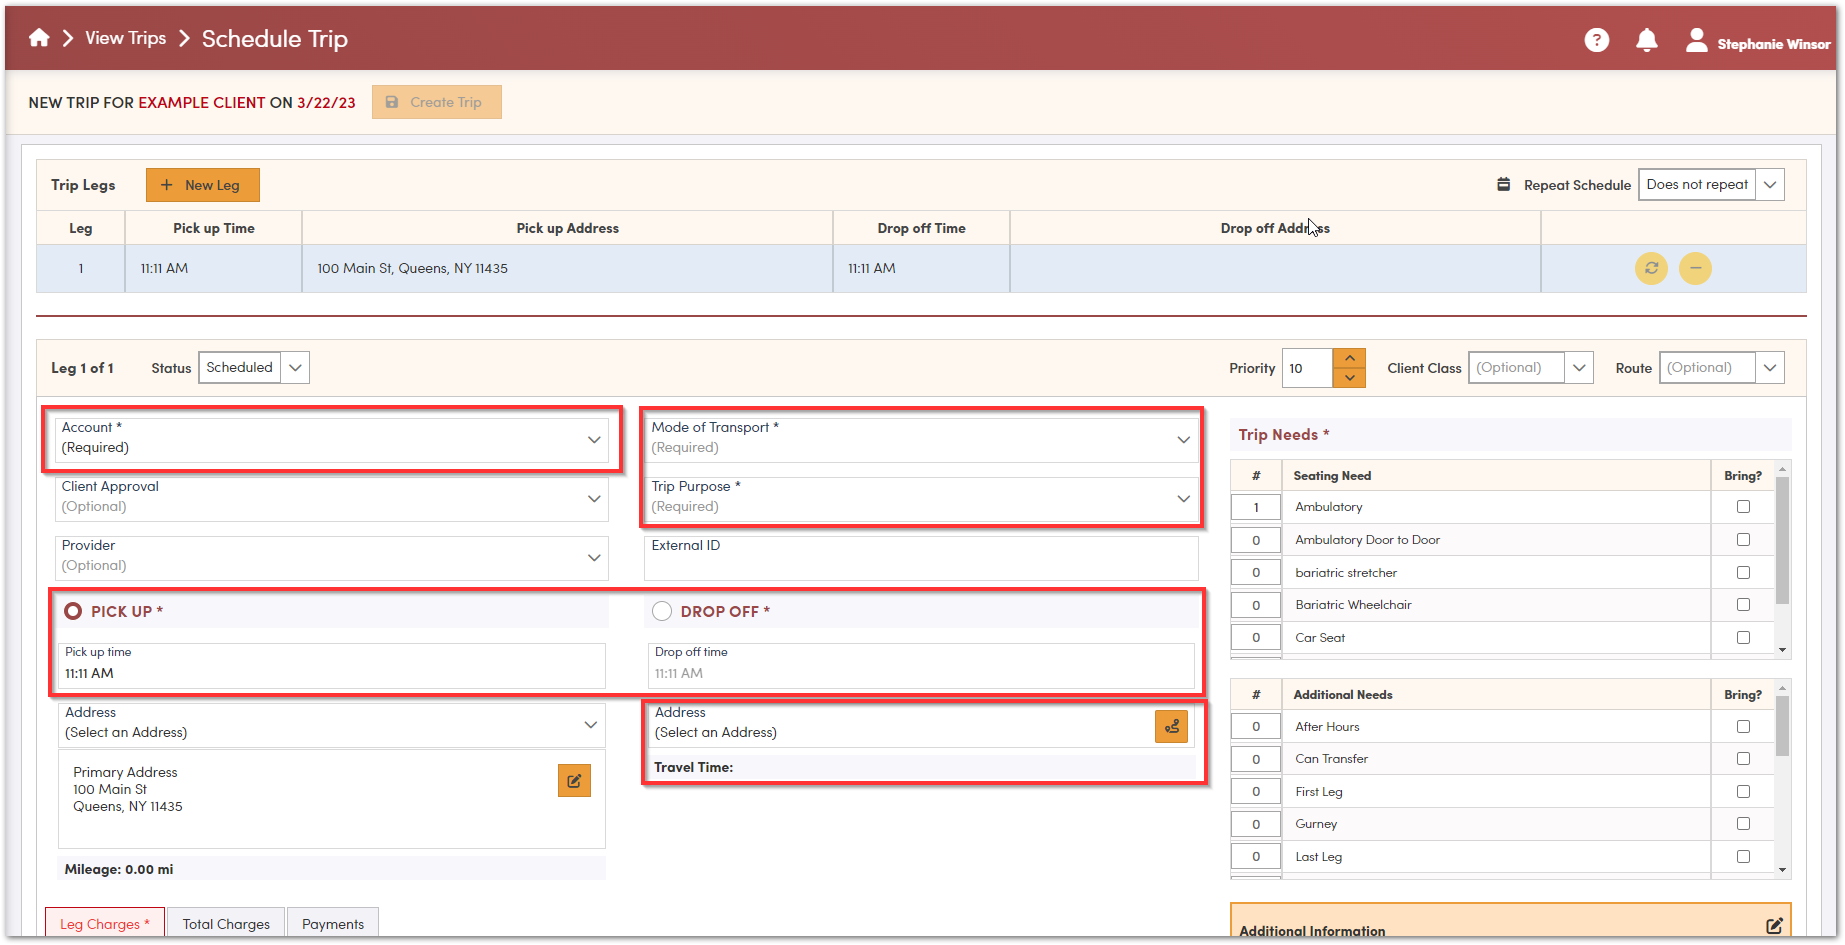
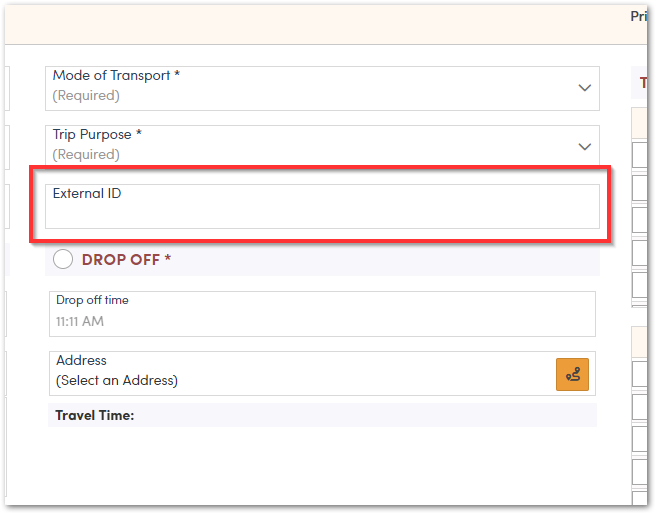
If you’re creating this trip and it requires a trip ID from your broker, you’ll add that as an External ID right here.
Next, Select an Address for Drop off. If the drop off address is a saved location select that from the list. If not, click on either 'Enter an Address' or the orange enter an address icon.

Verify which time you’d like to input for the trip, so RoutingBox can calculate the other time.
For example, if you choose to input the Pick Up time – RoutingBox will calculate the Drop Off based on the distance of the trip. If you choose the Drop Off, RoutingBox will calculate what time they should be Picked Up in order to arrive on time.

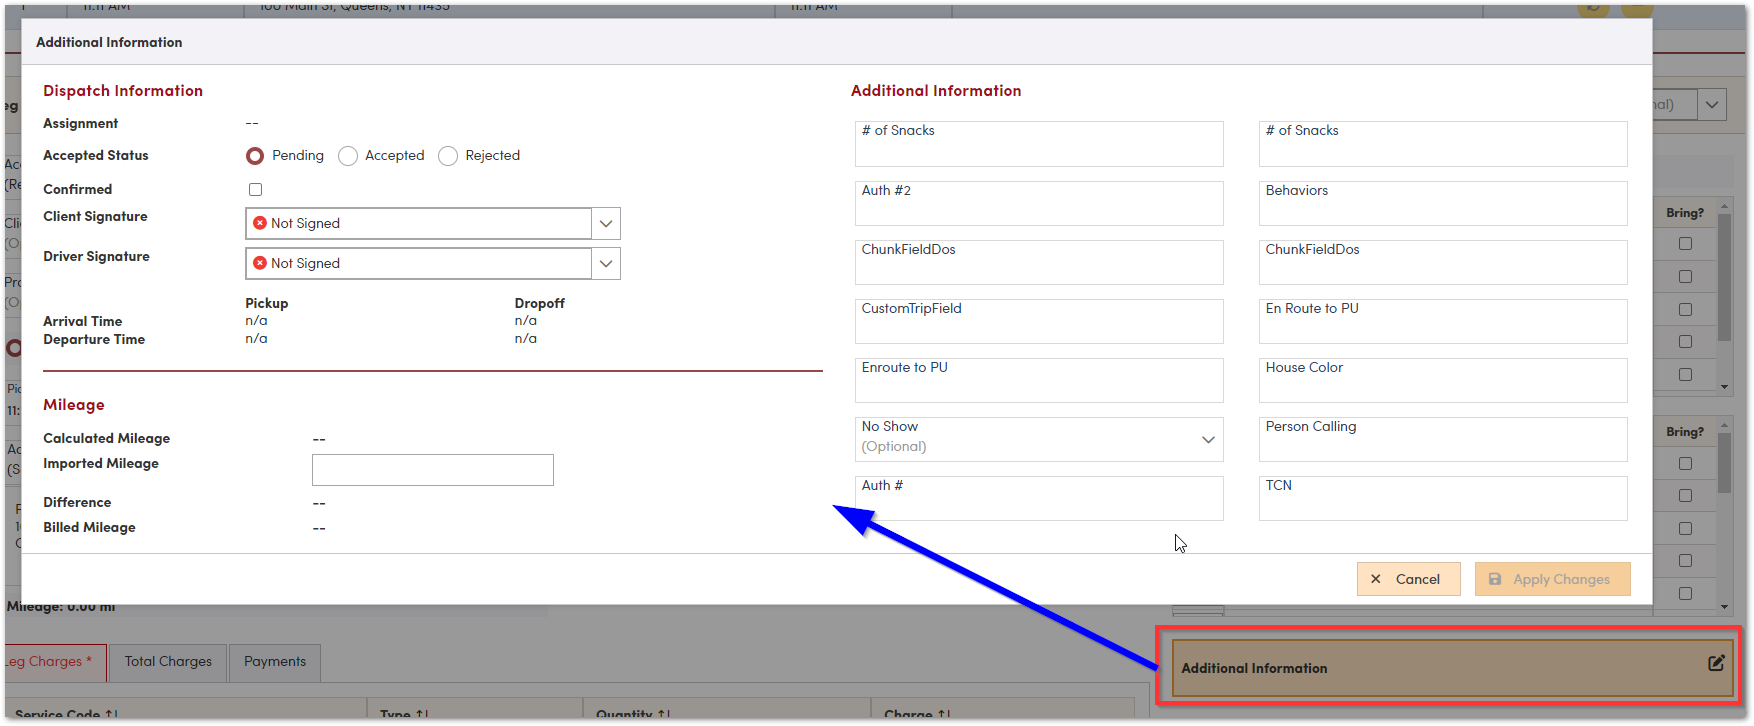
Moving down the page, additional information can be added to the trip here.
You’ll also be able to view, correct or add Service Rates for this trip. You’ll work with your Customer Success Manager to get RoutingBox to calculate rates by Account automatically for you.
To make a change or add Services to this trip, choose Override Charges. This can only be done Per Leg.

To add a Return Ride, click the Round Trip Icon icon.

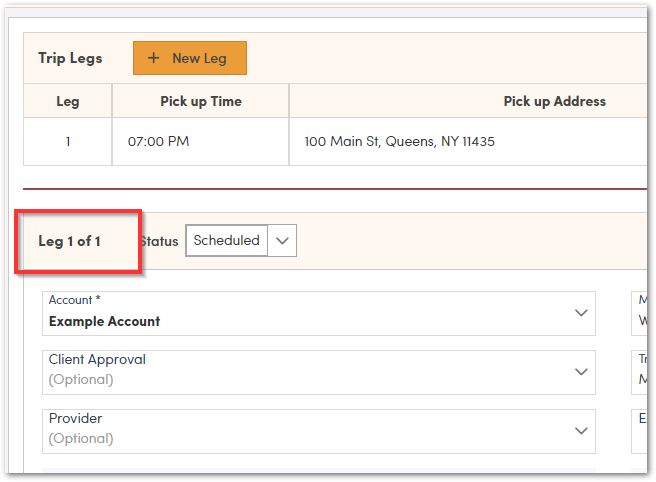
You can see what leg you’re viewing here.
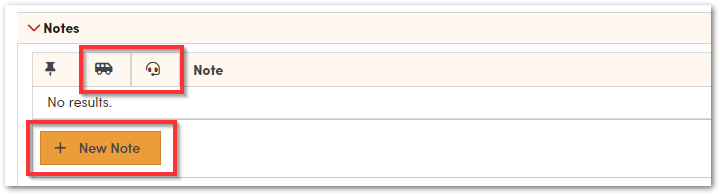
It’s a good idea to fill out the first leg completely before adding the Return Ride, so all fields will carry over to the second leg, including the Trip Notes at the bottom of the screen.
Notes can be made visible to dispatch, drivers or both.
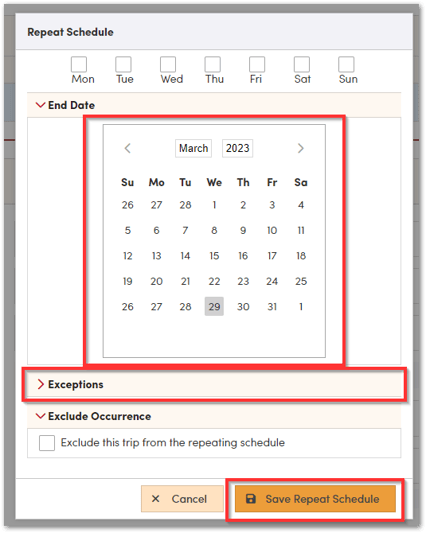
After fully creating both legs of your trip, up towards the top, click the drop for the Repeat Schedule to being selecting the days of the week this client should be transported.
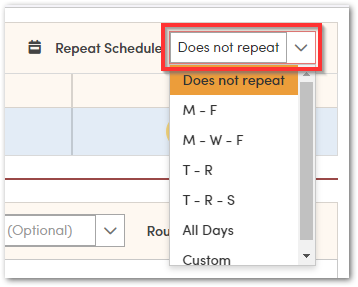
After selecting the days of the week or custom, you will select when the trip series should end. You can schedule this up to one year out. This means the trips will be scheduled in RoutingBox until that end date (which you can extend later on). You can also select any exceptions, or any days that the client is scheduled to go but will not (holidays, days business is closed, etc.)
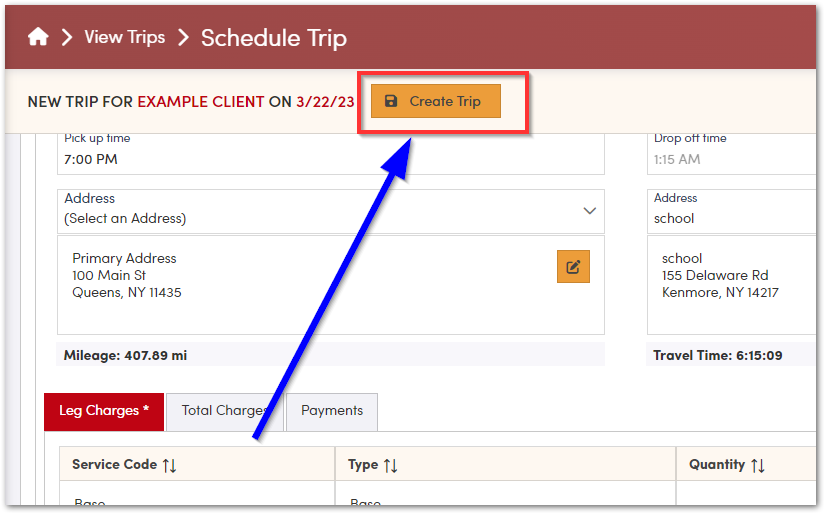
Once you’re all set with the information on this trip, you can click “Create Trip” at the top.