![New Founders Software-White.png]](https://help.intelligentbits.com/hs-fs/hubfs/New%20Founders%20Software-White.png?height=50&name=New%20Founders%20Software-White.png)
Navigate to the Billing tab then, the Services icon.
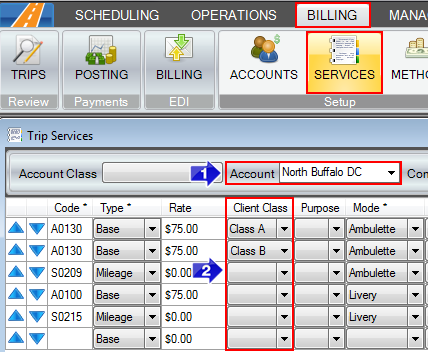
1. Enter the Account you would like to set a client class for in the Account field.
2. In the Client Class column, choose the class you would like the specific code to be used for. Each code can have a different client class selected for it. This field is not a required one when setting up services and should only be done if that class is the only one that will be affected by that code.
Client Classes can be changed on the Client's profile or on the Trip itself. Navigate to the Scheduling tab, then the Clients icon to change the class on the client profile.
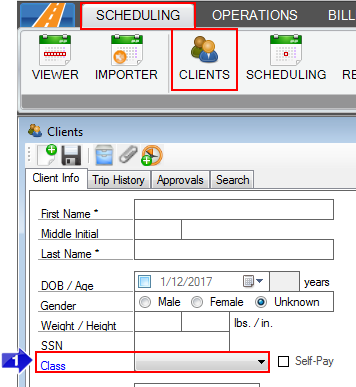
1. Select the Class you would like the client to be associated with from the Class dropdown field.
To change the client class from the trip, navigate to the Scheduling tab, then the Scheduling icon.
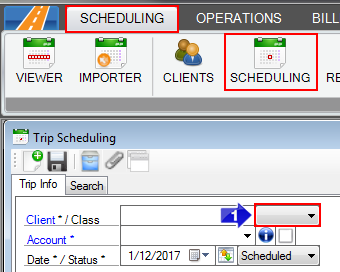
1. The Class can be selected on this window by selecting the dropdown field and choosing the appropriate option.
Related Articles:
How to Create a Client Class
How to Create a Client
How to Create an Account
How to Schedule a Trip
Key Terms:
Client, Class, Scheduling, Trip, Account, Billing, Services, ClientsFormHelp, AccountsFormHelp, TripSchedulingFormHelp, TripServicesFormHelp