![New Founders Software-White.png]](https://help.intelligentbits.com/hs-fs/hubfs/New%20Founders%20Software-White.png?height=50&name=New%20Founders%20Software-White.png)
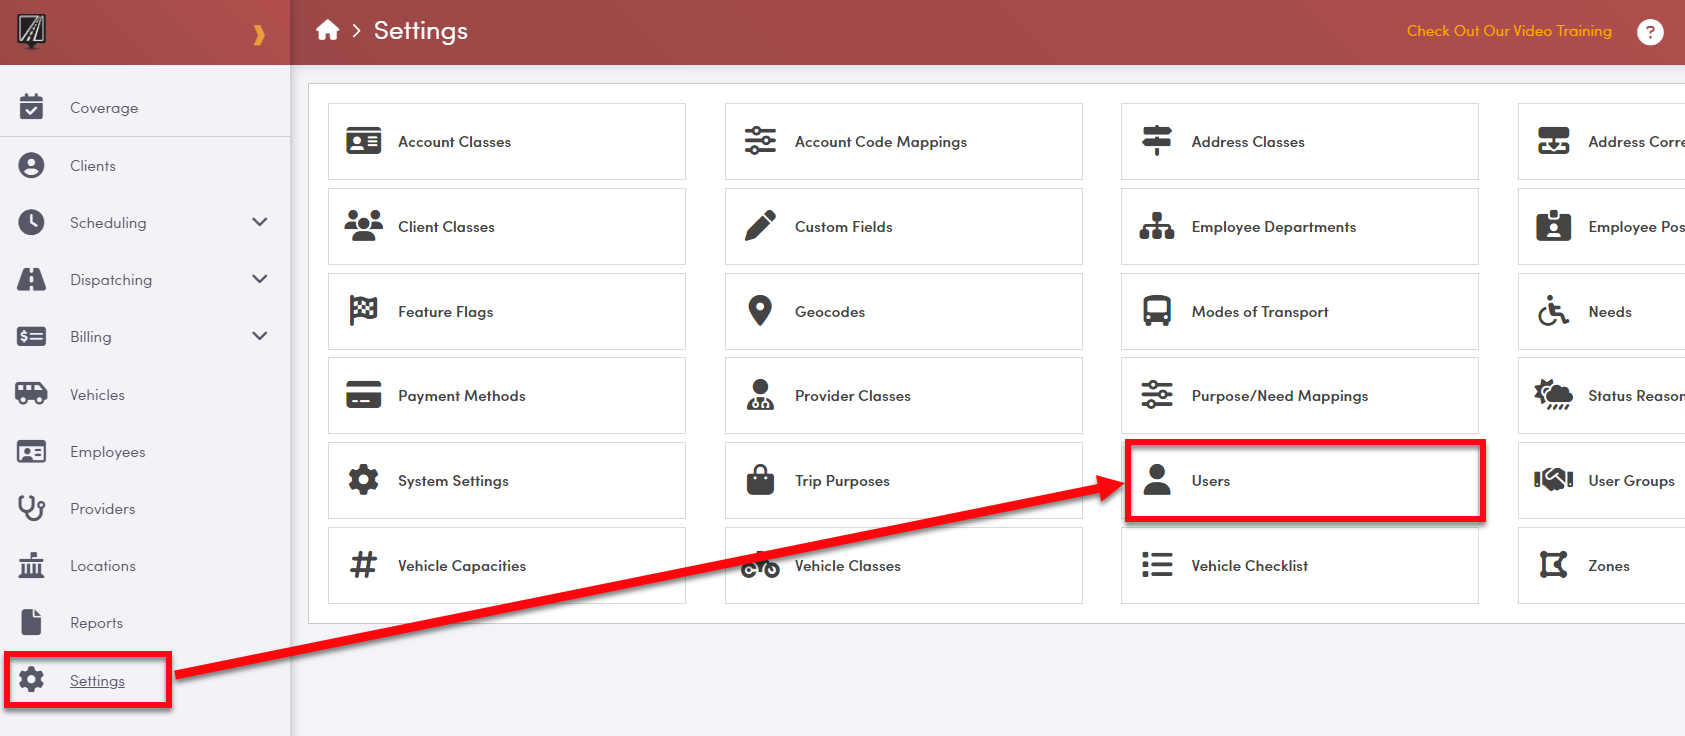
- Navigate to Settings --> Users
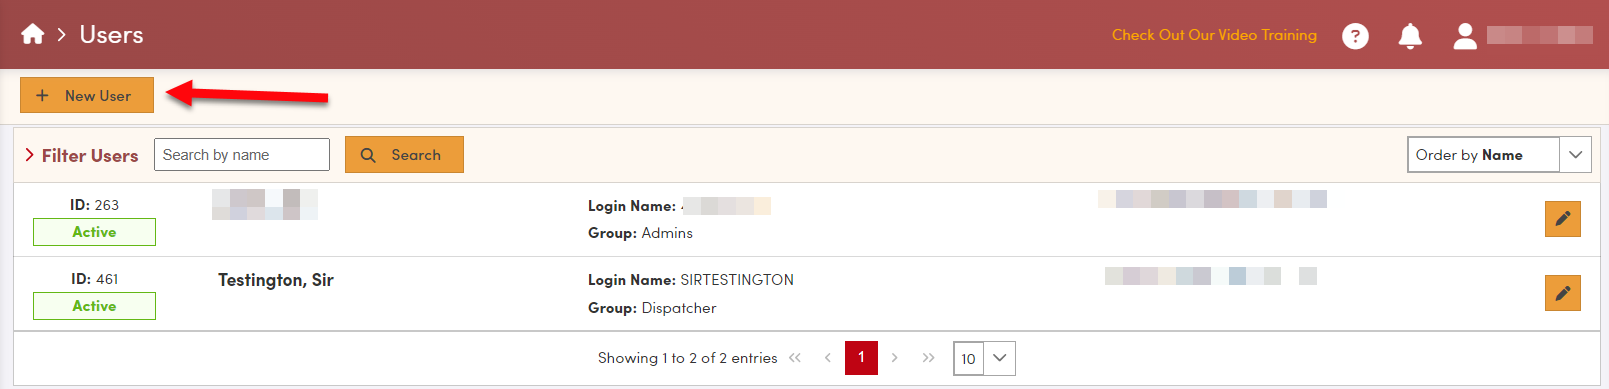
Here you will see your list of current users. If you need to edit an existing one, simply click on the name to open the associated record.
- To create a new user select "New User"
- Enter a Login Name for the user. We recommend using the team member's first initial and last name as a default however this can be whatever you want as long as it's unique within your company.
- Enter a valid Email for the user. The email address can be used to send a password reset notification when necessary and must be unique per user.
- Enter the user's First Name, Last Name and Initials. The initials will be displayed in the Audit Trail to show which user made a specific change.
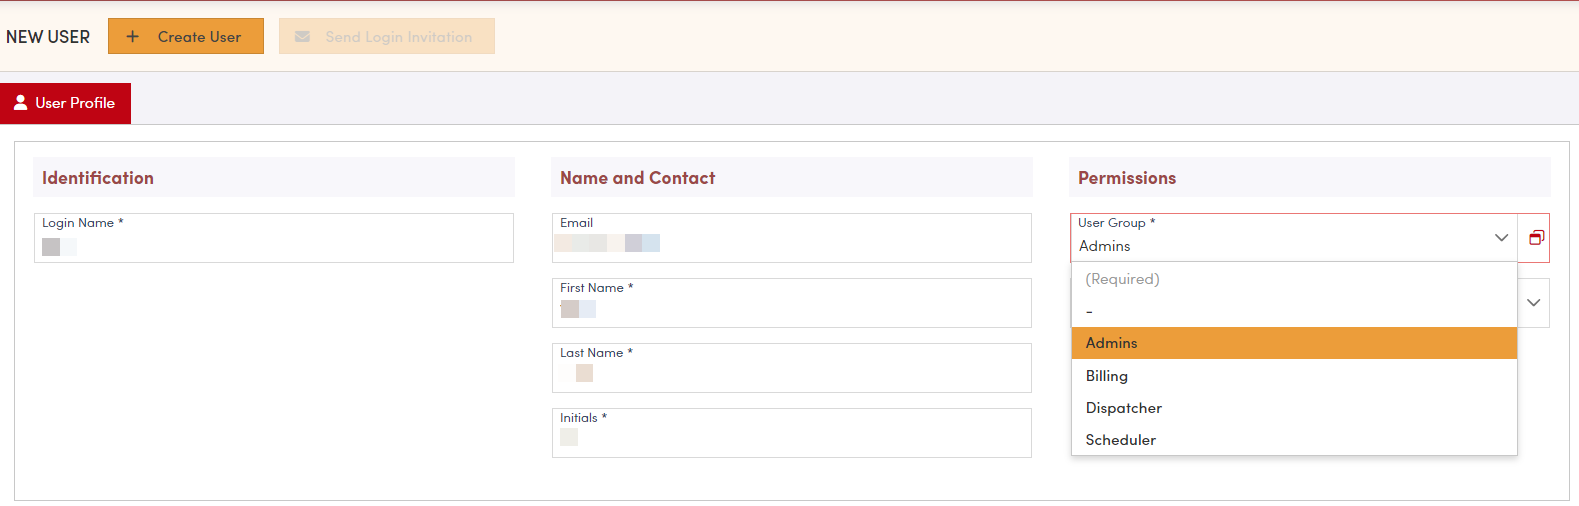
Select the permissions for the user by clicking the drop down for User Group.
More information on creating and modifying user groups can be found here: How to Create and Manage User Groups in RoutingBox Web
Account Class restrictions are not common and can be left blank unless you've already discussed this with your Customer Success Manager.
- Click Create User to save
- You can then click "Send Login Invitation" to send the credentials to the user
- New user will receive an email with a temporary password. They will be prompted to change the password to a personalized, secure password to use moving forward.
- The Invite email must be opened and used within 30 minutes of sending, otherwise credentials expire and must be resent.