![New Founders Software-White.png]](https://help.intelligentbits.com/hs-fs/hubfs/New%20Founders%20Software-White.png?height=50&name=New%20Founders%20Software-White.png)
To open the Assignment Planner, hover over the fly-out menu on the left side and select Dispatching and then Assignments. 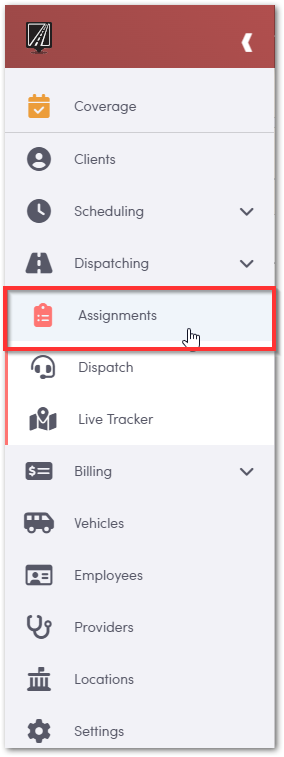
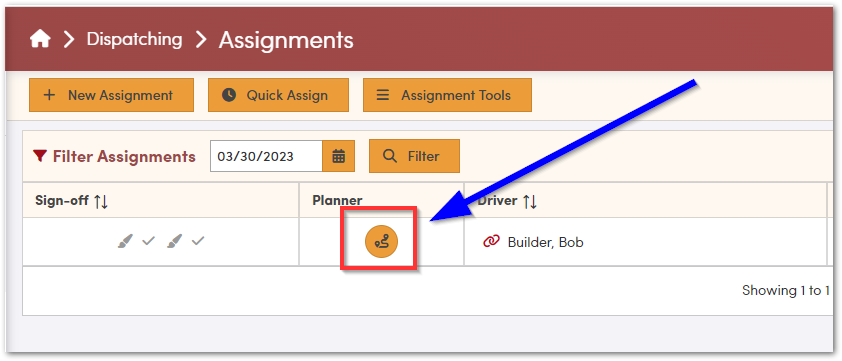
Once on the Assignments screen, find the driver and vehicle assignment you'd like to plan trips for. Select the icon beneath Planner.
Note: you must first have created driver and vehicle assignments. If you are not sure how to do that, please visit How to Create Driver & Vehicle Assignments in RoutingBox Web.
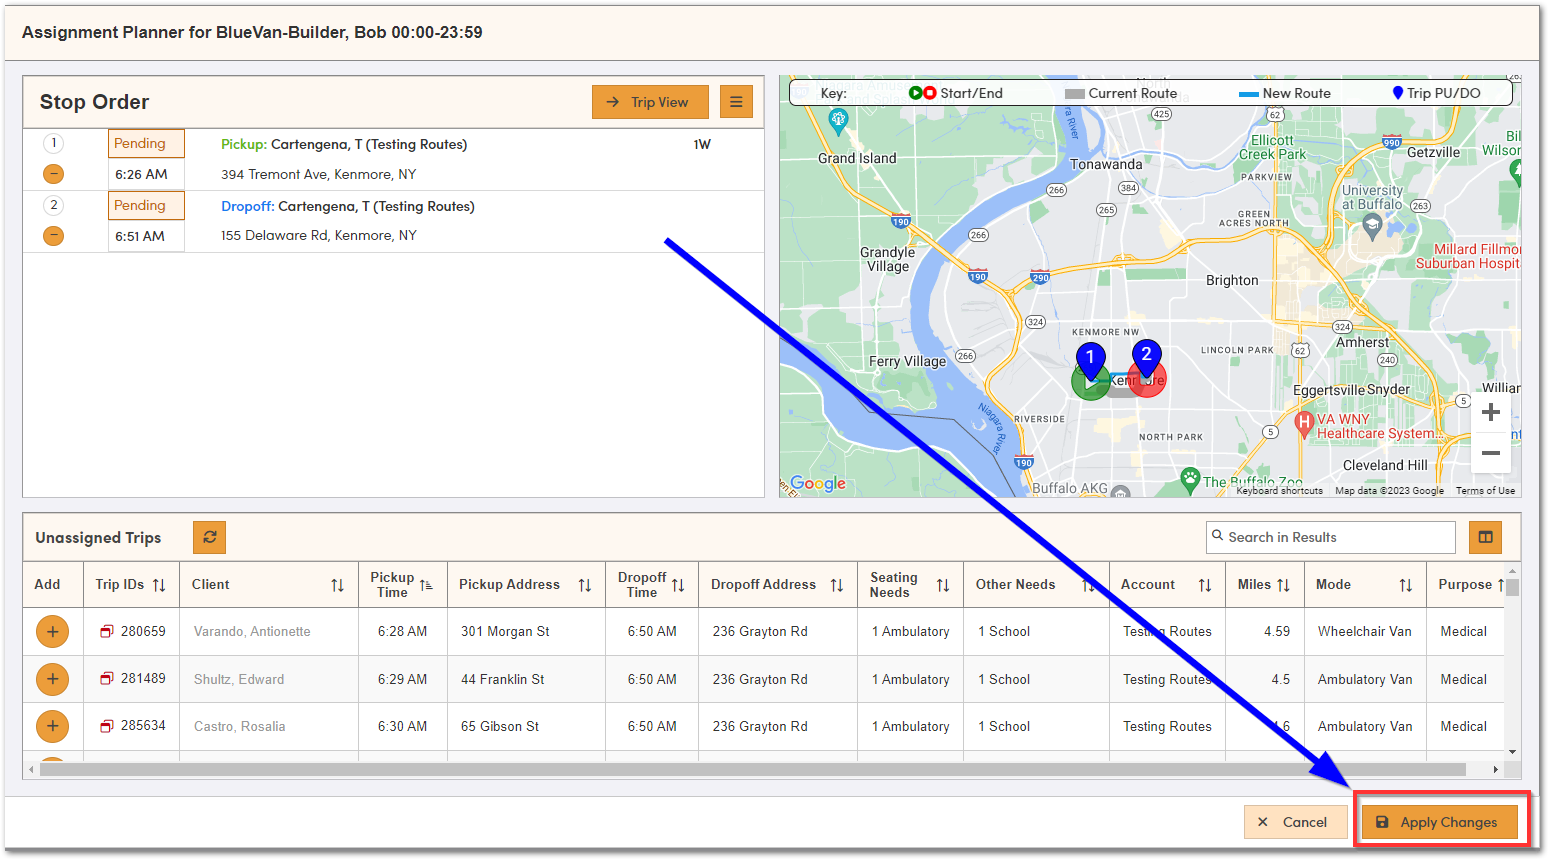
When the Assignment Planner screen loads, you'll see the Assignment you're working on at the top, any trips that have already been added to their scheduled and, any unassigned trips at the bottom.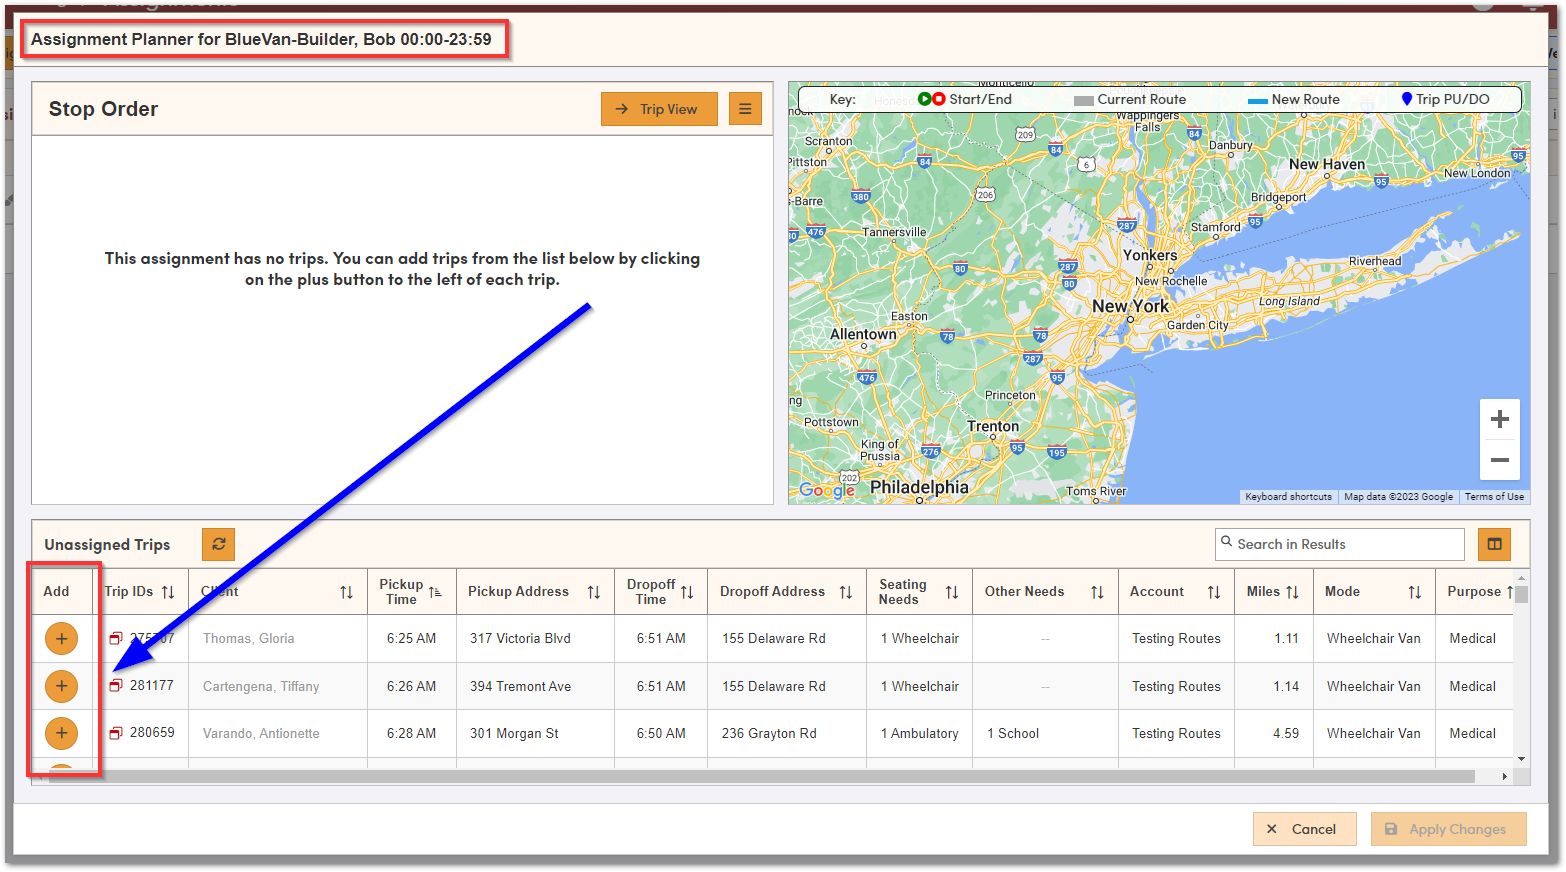
To add trips to a drivers schedule for the day, simply click the + icon next to the trip. After added, it will appear in the section above and will place the potential route on the map to the right.
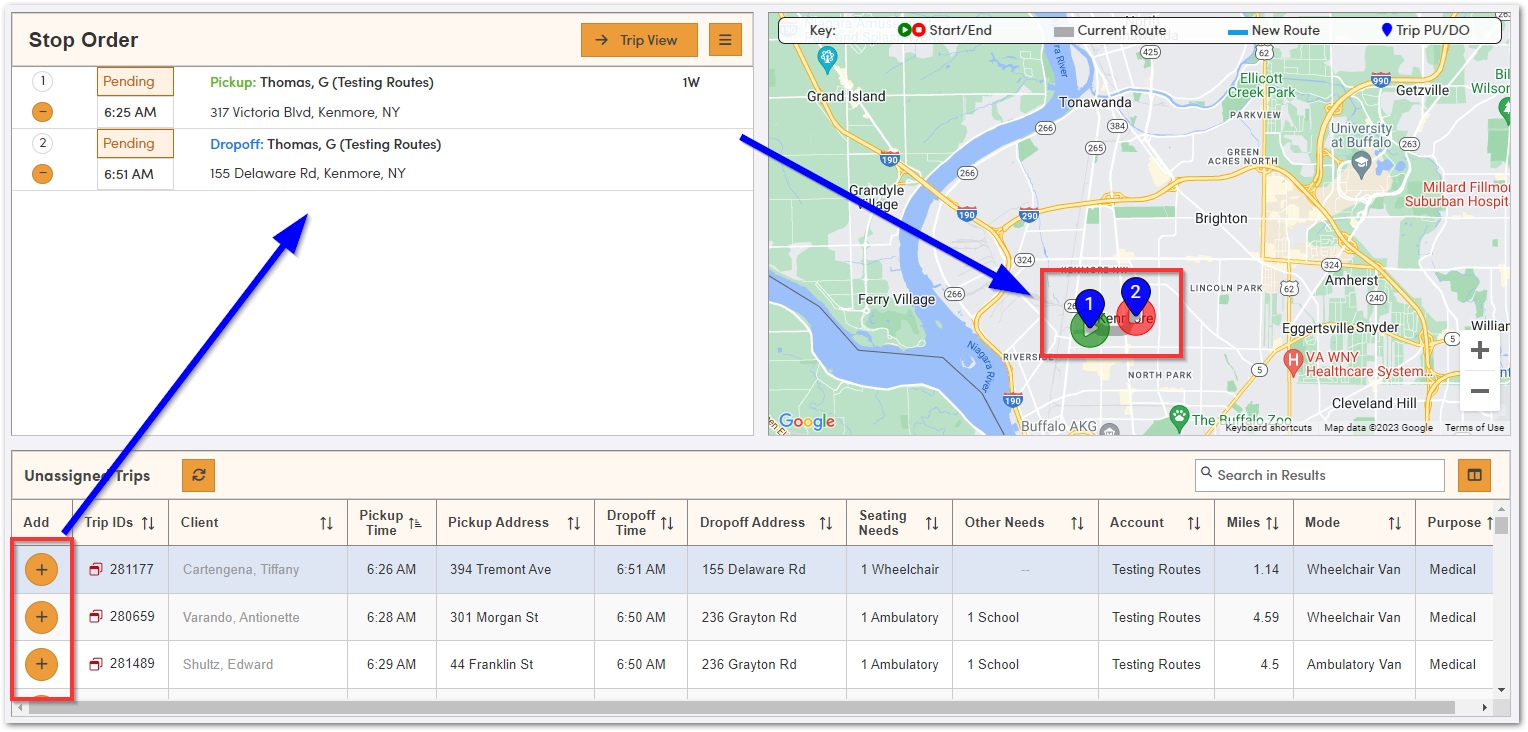
This will show you the drivers schedule in Stop View (meaning each the pickup and drop off stop are mapped out and ordered) if you'd prefer to look at the whole trip, click on Trip View.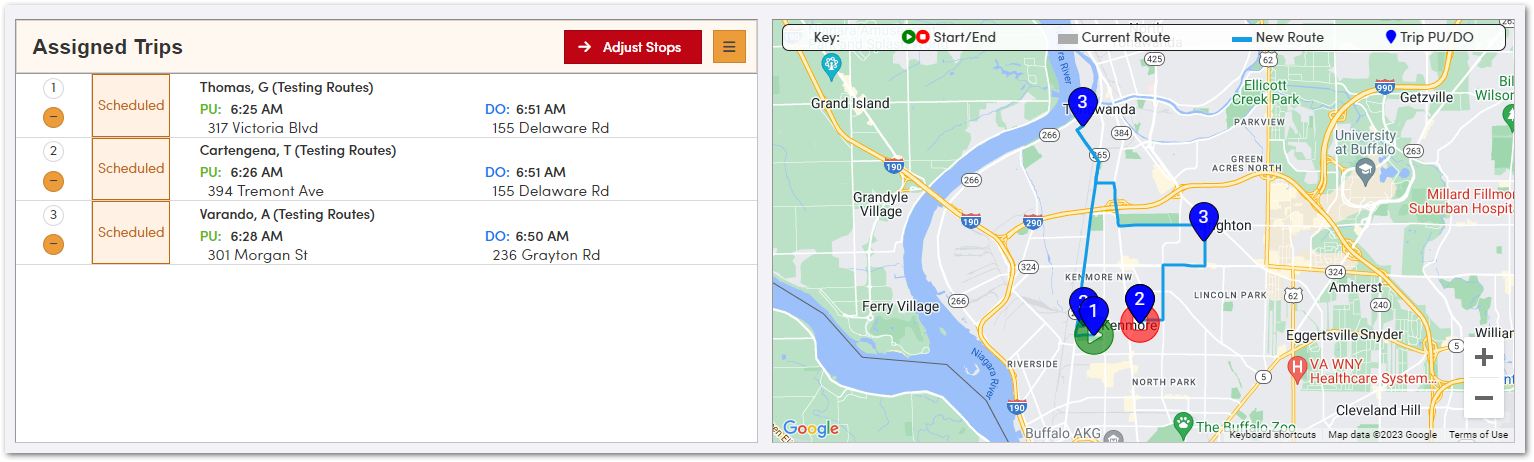
When you're happy with the schedule you've created, click Apply Changes in the bottom right-hand corner.